WSL2 on Windows 10
Original from:
https://docs.microsoft.com/en-us/windows/wsl/install-win10
Manual Installation Steps
If you are not on a Windows Insiders build, the features required for WSL will need to be enabled manually following the steps below.
Step 1 - Enable the Windows Subsystem for Linux
You must first enable the "Windows Subsystem for Linux" optional feature before installing any Linux distributions on Windows.
Open PowerShell as Administrator and run:
dism.exe /online /enable-feature /featurename:Microsoft-Windows-Subsystem-Linux /all /norestart
We recommend now moving on to step #2, updating to WSL 2, but if you wish to only install WSL 1, you can now restart your machine and move on to Step 6 - Install your Linux distribution of choice. To update to WSL 2, wait to restart your machine and move on to the next step.
Step 2 - Check requirements for running WSL 2
To update to WSL 2, you must be running Windows 10.
- For x64 systems: Version 1903 or higher, with Build 18362 or higher.
- For ARM64 systems: Version 2004 or higher, with Build 19041 or higher.
- Builds lower than 18362 do not support WSL 2. Use the Windows Update Assistant to update your version of Windows.
To check your version and build number, select Windows logo key + R, type winver, select OK. (Or enter the ver command in Windows Command Prompt). Update to the latest Windows version in the Settings menu.
Note
If you are running Windows 10 version 1903 or 1909, open "Settings" from your Windows menu, navigate to "Update & Security" and select "Check for Updates". Your Build number must be 18362.1049+ or 18363.1049+, with the minor build # over .1049. Read more: WSL 2 Support is coming to Windows 10 Versions 1903 and 1909. See the troubleshooting instructions.
Step 3 - Enable Virtual Machine feature
Before installing WSL 2, you must enable the Virtual Machine Platform optional feature. Your machine will require virtualization capabilities to use this feature.
Open PowerShell as Administrator and run:
dism.exe /online /enable-feature /featurename:VirtualMachinePlatform /all /norestart
Restart your machine to complete the WSL install and update to WSL 2.
Step 4 - Download the Linux kernel update package
Download the latest package:
Note
If you're using an ARM64 machine, please download the ARM64 package instead. If you're not sure what kind of machine you have, open Command Prompt or PowerShell and enter:
systeminfo | find "System Type".Run the update package downloaded in the previous step. (Double-click to run - you will be prompted for elevated permissions, select ‘yes’ to approve this installation.)
Once the installation is complete, move on to the next step - setting WSL 2 as your default version when installing new Linux distributions. (Skip this step if you want your new Linux installs to be set to WSL 1).
Note
For more information, read the article changes to updating the WSL2 Linux kernel, available on the Windows Command Line Blog.
Step 5 - Set WSL 2 as your default version
Open PowerShell (the account I use is not admin) and run this command to set WSL 2 as the default version when installing a new Linux distribution:
wsl --set-default-version 2
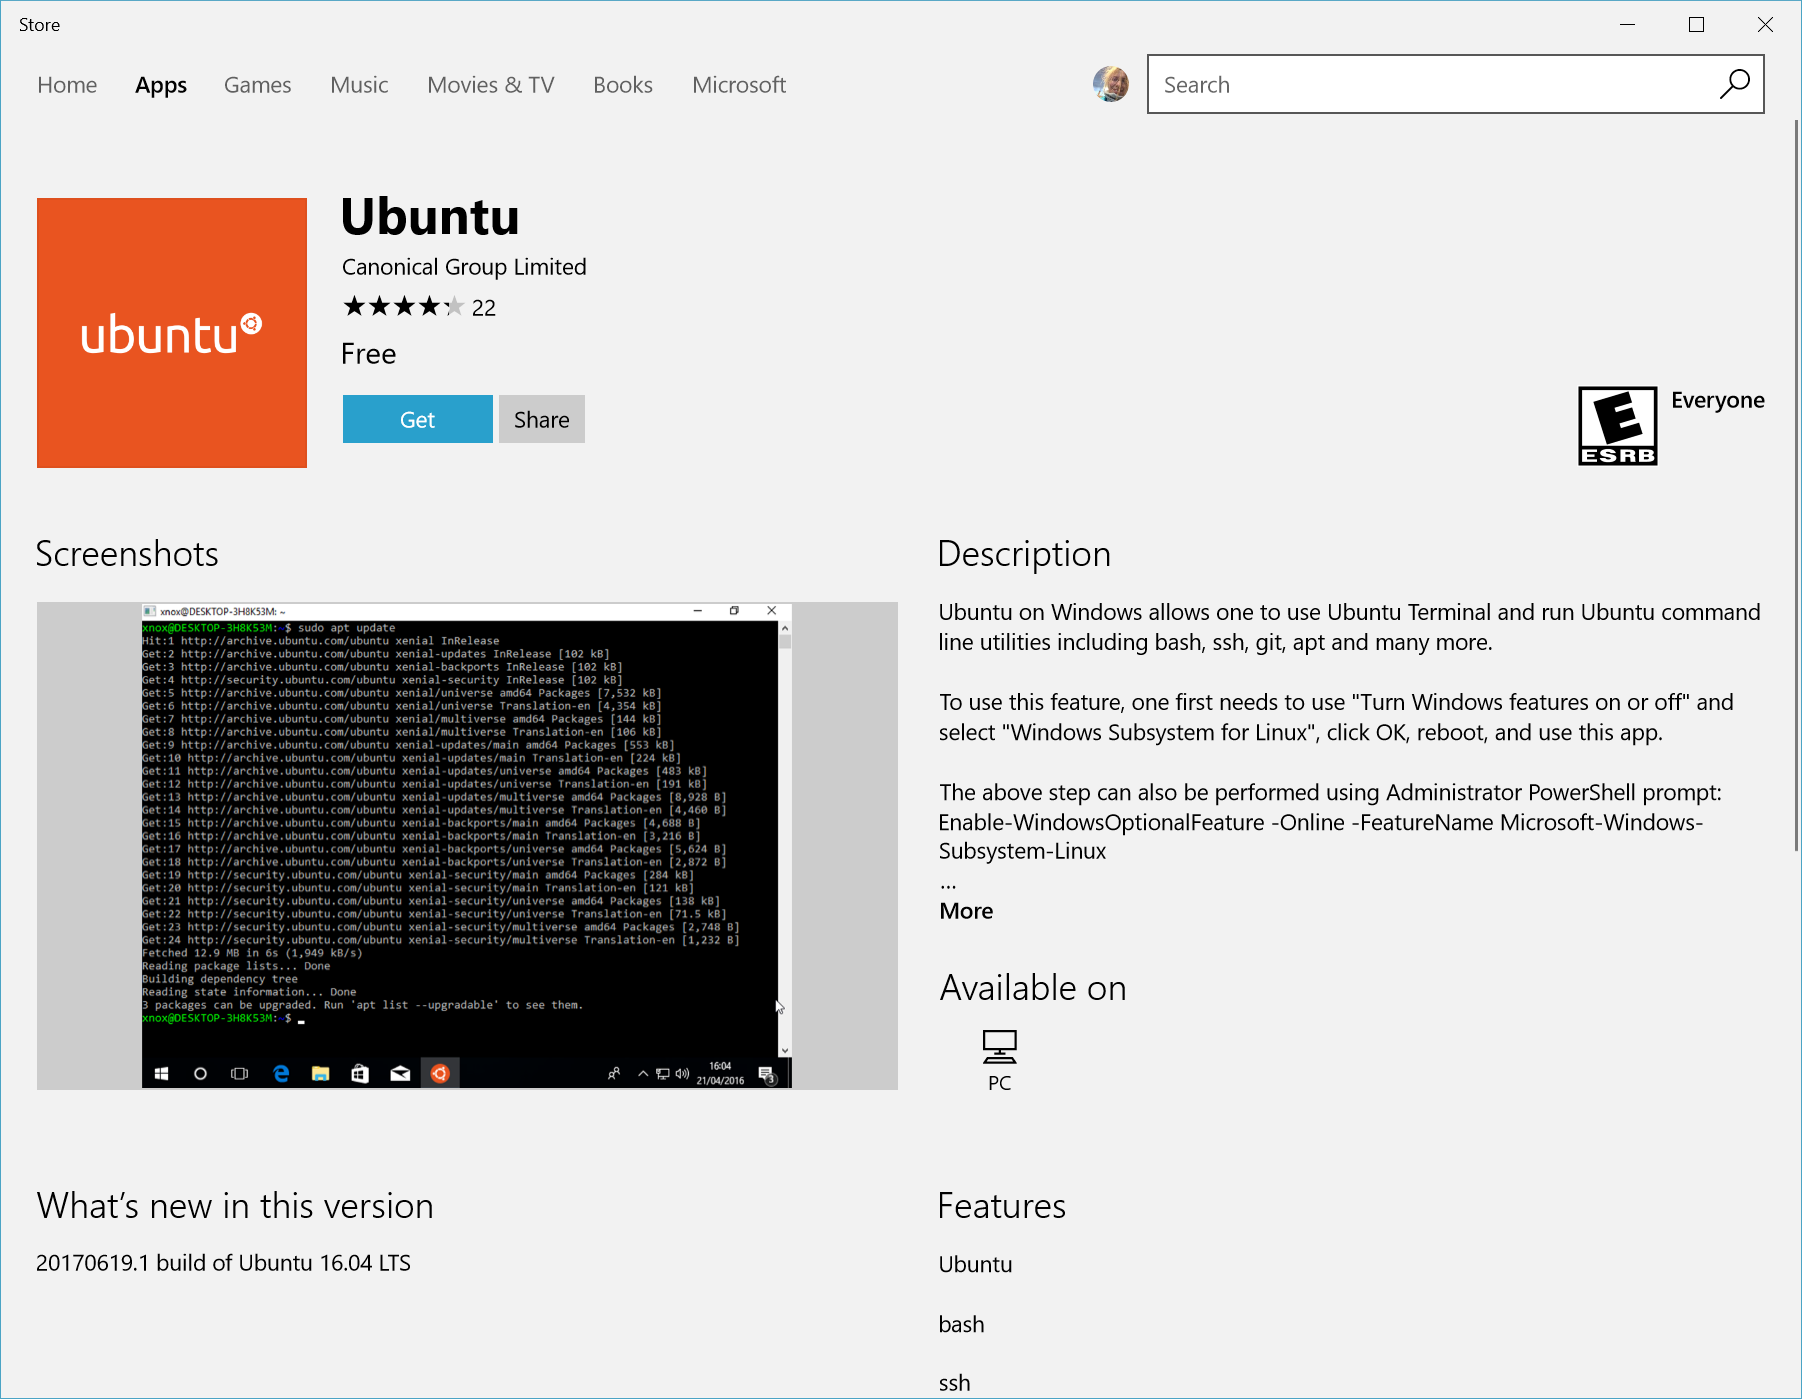
Step 6 - Install your Linux distribution of choice
Open the Microsoft Store and select your favorite Linux distribution.

The following links will open the Microsoft store page for each distribution:
From the distribution's page, select "Get".
The first time you launch a newly installed Linux distribution, a console window will open and you'll be asked to wait for a minute or two for files to de-compress and be stored on your PC. All future launches should take less than a second.
You will then need to create a user account and password for your new Linux distribution.

Original from: https://medium.com/@japheth.yates/the-complete-wsl2-gui-setup-2582828f4577
Updating Ubuntu
You now have a running version of Ubuntu on your Windows system! So let’s make sure everything is updated. Copy the command below into your terminal and press the Return key. Note that you will be asked to enter your password. The sudo (superuser do) prefix runs the command with high-security/administrator privileges.
sudo apt update && sudo apt -y upgradeIt may take a few minutes to install all the updates depending on your internet connection speed.

Your system should now be updated and you can now install any Linux software you want using the sudo apt install name_of_software command. I’d recommend installing some networking tools along with some essential compilers using (you may be asked to confirm installation by typing the letter Y in the terminal). Also, let’s install some remote desktop utilities so that you can use remote desktop to connect to your Linux distribution if you want.
sudo apt install build-essentialsudo apt install net-toolssudo apt install xrdp -y && sudo systemctl enable xrdp
Setting up the GUI
WSL2 does not currently support graphical user interfaces but we can get around that by telling Ubuntu to use an X-server on Windows. Let us start by installing a desktop environment. Some desktop environments (e.g. gnome 3) can run in WSL2 but they run with errors and I wouldn’t recommend them. Instead, we will install a lightweight desktop along with some of its requirements. There are two lightweight options for Ubuntu that I’ve tested: mate or xfce4. We’ll install xfce4 by installing the xubuntu-desktop and then some gtk2 libraries but feel free to install the ubuntu-mate-desktop if you prefer.
sudo apt install -y taskselsudo tasksel install xubuntu-desktopsudo apt install gtk2-engines
A colored window will appear and install the xfce4-desktop which could take some minutes.
We now need to export a few variables to let Linux know where to look for the X-server on Windows. Copy the following and run the following in your terminal
export DISPLAY=$(ip route|awk '/^default/{print $3}'):0.0
export LIBGL_ALWAYS_INDIRECT=1
sudo /etc/init.d/dbus start &> /dev/null
If you don’t want to type these every time you open your Linux distribution you should copy and paste these commands at the end of the .bashrc file in your home directory. You can use the nano or vim editors to open the .bashrc file using
vim ~/.bashrcor
nano ~/.bashrcYou can also create a file called /etc/sudoers.d/dbus and add the following in it using your username
your_user_name ALL = (root) NOPASSWD: /etc/init.d/dbusThis does come with risks but it should be ok for most. You can read /etc/sudoers.d/README for more information. You’ll need to use the sudo prefix to create the dbus file as well as to read the README.
This pretty much fully sets up your Linux distribution. So let’s get the Windows part set and then you’ll be finished.
Setting up X-server on Windows 10
I’ve tested two Windows X-servers: VcXsrv (free) and x410 (paid on Windows Store). I’ve not found much difference in terms of performance so I’d have to recommend VcXsrv for most users. I got a hold of x410 on sale and it is more stable than VcXsrv but this doesn’t mean that the latter is unstable. The x410 website has detailed guides on how to get started with Linux WSL2 GUI apps so I won’t be going through it here. I’ll just focus on VcXsrv.
Download, install, and launch VcXsrv. You’ll be given a choice of four display window options. Let’s choose ‘Multiple windows’ for now and press next.

On the next screen, you can leave everything as default.

On the next window, make sure that all options are checked including ‘Disable access control’ then press next, save the configuration if you want and finish.

You will then probably be asked if you want to allow VcXsrv to access your network, you’ll have to click on the ‘Public network’ option here and allow it through the Windows Firewall or whichever firewall you use.
Now jump back into your Linux terminal. Once in there, and assuming you’ve followed all the steps above, you should be able to run GUI apps by typing their name in the terminal and pressing Enter. For example to run Firefox (if you’ve followed all steps above Firefox will be installed), simply go into your Linux terminal and write
firefox &The ‘&’ after the application name runs it in the background so you can still use the terminal. If you choose not to run applications in the background you’ll have to open a new terminal if you want to do other tasks in your Linux operating system. If Firefox isn’t installed, you can install it using sudo apt install firefox.
Full Linux Desktop
To run a complete Linux desktop, you’ll need to change the display settings in VcXsrv. You can either select ‘One large window’ or ‘Full screen’, but I would recommend starting with the former. Then follow the same steps described above and jump into your Linux terminal and use the following command:
xfce4-sessionThis launches the xfce4 desktop installed earlier and you’ll have access to a working Linux desktop. There will be some errors in the terminal and there will always be a popup in the desktop, just cancel it and use the desktop as you please. Congratulation!!!
Below is a screenshot of my setup. I’ve installed a few other applications along with changing the theme and icons so yours may look a little different.
I’ll remind you again that GUI applications aren’t supported yet so there may be glitches and errors from time-to-time but I’ve not experienced anything catastrophic yet.
Note: Firefox started but with error

Linux desktop started but lagging.
Original from: https://x410.dev/cookbook/wsl/enabling-sound-in-wsl-ubuntu-let-it-sing/
I don't have X410 but most of the setup works.
Download PulseAudio for Windows
PulseAudio version 1.1 was available for Windows as of this writing; it's indeed an old version but it works on Windows 10.
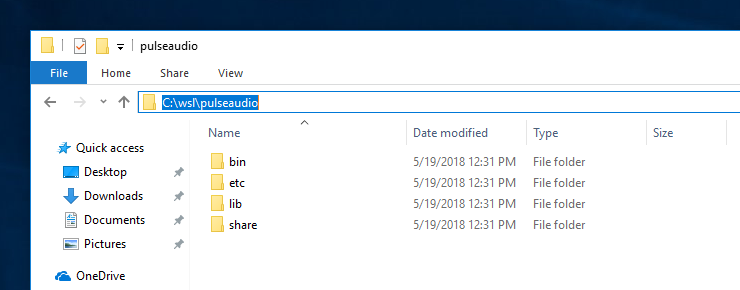
STEP 2 Unzip the file from Step 1 to a folder
STEP 3 Edit 'etc\pulse\default.pa'
| Line 42 | |
| FROM | load-module module-waveout sink_name=output source_name=input |
| TO | load-module module-waveout sink_name=output source_name=input record=0 |
Please note that for security and privacy concerns Windows 10 (April 2018 Update) seems to restrict the access to audio recording devices. You can probably somehow override this feature, but since we just want to hear the sound we're simply disabling it from the PulseAudio server by adding the 'record=0'.
Note:
type: ifconfig eth0 | grep 'inet
eth0: flags=4163<UP,BROADCAST,RUNNING,MULTICAST> mtu 1500
inet 172.17.144.20 netmask 255.255.255.240 broadcast 172.17.144.31
inet6 fe80::215:5dff:fe71:3065 prefixlen 64 scopeid 0x20<link>
IP after inet is the address of the vm
| Line 61 | |
| FROM | #load-module module-native-protocol-tcp |
| TO | load-module module-native-protocol-tcp auth-ip-acl=127.0.0.1 |
This enables the PulseAudio server to accept connections only from 127.0.0.1 via TCP.
Note:
Replace 127.0.0.1 with <address of vm>
STEP 4 Edit 'etc\pulse\daemon.conf'
| Line 39 | |
| FROM | ; exit-idle-time = 20 |
| TO | exit-idle-time = -1 |
If this option is set to a non negative value, the server automatically terminates itself when the last client disconnects and the time is passed more than this option (in seconds).
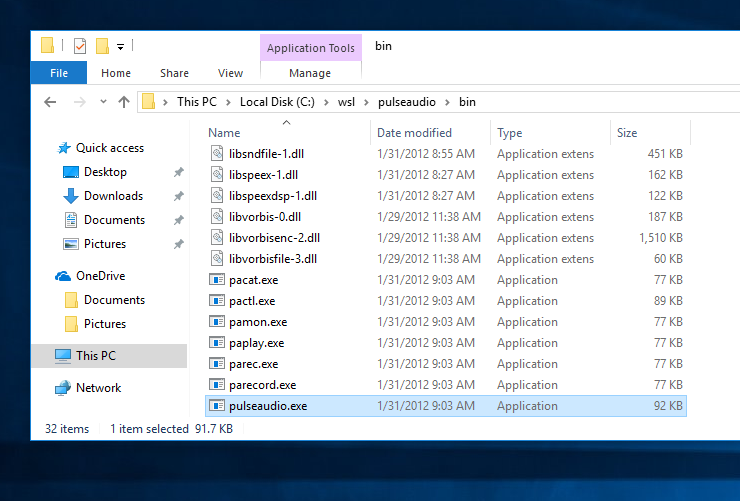
STEP 5 Test run 'bin\pulseaudio.exe'
The 'pulseaudio.exe' is the executable for PulseAudio server (also referred to as a daemon) that we need for our Linux apps.
When you first run pulseaudio.exe, you'll see the Windows Firewall Alert popup that asks you if you want to allow other devices for connecting to the server. Since we'll only be using a loopback address (= 127.0.0.1), you should select 'Cancel'; you don't have to allow other devices.
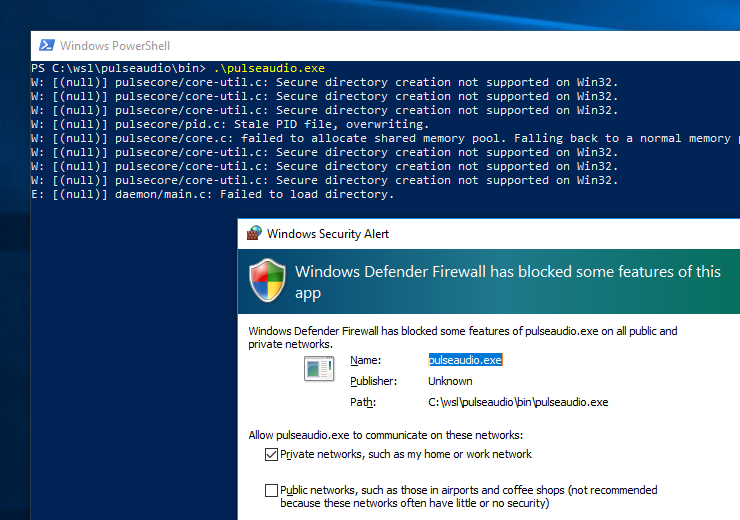
If there was an error, the server exits immediately. If that's the case, go to Step 3 and make sure you've changed the lines correctly.
Press CTRL+C to stop the server.
Note: I can't run it as a service. when running it in cmd. it always has these warning messages.STEP 7 Enjoy the sound!

Known Issues
PulseAudio server cannot be terminated gracefully. If you want to stop the server, you need to use Windows Task Manager or taskkill.exe command to terminate it forcefully.
The current version of PulseAudio is 12.2 as of this writing. The version used in this post is 1.1 and you probably notice various performance issues. For example, if you're seeing unexpected stuttering in video playback, it's probably caused by the PulseAudio server that couldn't keep up with the video.
Batch files are updated to address the re-launching problem in some Windows 10 versions. When pulseaudio.exe is launched with '-D' option and stopped using taskkill.exe with '/T' option, pulseaudio.exe might only work for the first instance of X410 and Linux GUI desktop.
posted by kunderam @ 2:49 PM
![]()

0 Comments:
Post a Comment
<< Home